


How do you transact with the iKhokha Shaker?
Step 1
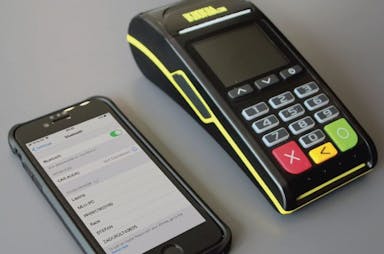
Ensure that the iKhokha Shaker is charged, switched on and correctly paired to a smartphone. Make sure the correct iKhokha app is installed for either Android (ensure that the device is paired to the app and phone) or iOS devices.
Step 2
Open and sign in to the iKhokha app with the email and password used to complete the iKhokha application.
Step 3
Once you have signed into the iKhokha app successfully, you can now transact.
Please note that Android app users will need to select “card” on the home screen, whereas iOS users will be on the transaction screen upon sign in.
Step 4
To complete a transaction, enter in the amount you wish to charge (e.g. a R1.00 test transaction) and select the + sign. Once an amount is added, the app will say “product added”.
Step 5
To charge the added amount, select the green arrow at the top right of the screen and select “charge” at the bottom of the following screen.
To charge the added amount, click the “charge” button at the bottom of the screen, click “charge” again on the following screen and select “pay with card”.
Step 6
The app will say “authenticating/processing” and the iKhokha Shaker will then prompt – “present card” > Insert or swipe card > enter PIN and press green “ok” button
Step 7
Once the transaction is approved > remove the card > tap the “approved” bubble on the smartphone and choose to print or send a receipt via email/SMS or skip the receipt.
After successfully completing a transaction, the iKhokha app will record the transaction and add the transaction to a report for you to access at any time.